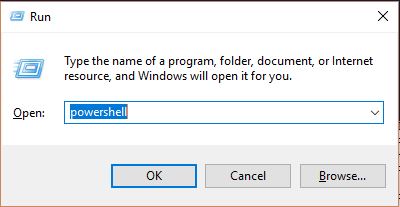
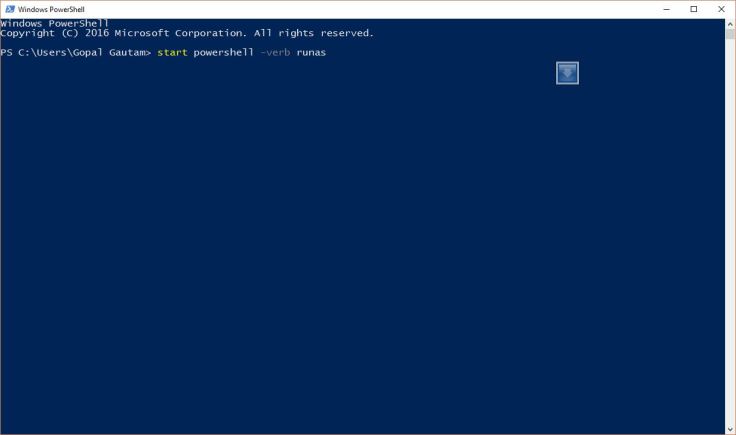
PowerShell is a task automation and configuration management framework from Microsoft, consisting of a command-line shell and associated scripting language. PowerShell is a very powerful tool for automating various windows tasks. Here we will learn to use powerShell as a commandline tool for creating archives (zip) files from folder containing files.
I am using windows 10 pc which comes with powershell version 5.1

I have a folder structure as follows.

I have a folder called Software Documentations with contains 7 files.

Using the explorer address bar, we can start a new powershell session using this current directory.
Since powershell leverages use of .net classes, we will use “System.IO.Compression.FileSystem” class and load it in powershell session as
Add-type -A System.IO.Compression.FileSystem
We will create instance of this class in a powershell variable called $cls
$cls = [IO.Compression.ZipFile]
Now lets see what static functions are provided by our ZipFile class
$cls | Get-Member -static
We can see that we have methods “CreateFromDirectory” and “ExtractToDirectory” which we are interested on.

Now lets begin creating zip file using method CreateFromDirectory
First we need to make sure we are in correct directory
ls
Lets save the directory path of our desired folder to be zipped (which is “3. Software Requirement Specification” in my case”) into powershell variable $source
$source = (gi '3. Software Requirement Specification').FullName
Make sure $source has some value in it
$source
Now lets use our static “CreateFromDirectory” method to convert this folder to a zip file called “myzip.zip”
$cls::CreateFromDirectory($source, "myzip.zip")

Yes, we verified we have a our zip file “myzip.zip” in the same directory.

Now lets demonstrate extracting same zipped file to a new folder “myzip_extracted” folder using “ExtractToDirectory” method provided by our $cls
$cls::ExtractToDirectory('myzip.zip', 'myzip_extracted')
And we can see that it worked and created myzip_extracted folder and put all my files from the zipped archive to this folder.


